Beach Vacation 2021 & Family Photo Tips


Greetings! 

When I was younger my family used to go to the beach every year. I loved that tradition
 so much that I knew I wanted to adopt it for my own little family. Three years ago the tradition began for us and its held firm ever since.


Where We Stay

 I can't remember how I stumbled upon it but I found this amazing resort in Hilton Head, SC called Palmetto Dunes. I am obsessed with it! The grounds and landscaping are immaculate. They have tons of communities, hotels, condos and amenities. From onsite bike rentals, restaurants, convenient store, canoe rentals, tennis, pools and beach access. It is perfect! Each time we have stayed here I purchased our lodging through Vrbo.com previously known as Homeaway.com. Very similar to airbnb. The process has been seamless from start to finish. Hands down the best experience with booking was with our most recent rental. The owner of the condo is who I had the pleasure to communicate with and she was so hospitable and accommodating. The condo was updated and spotless! I highly recommend this property


What We Did

This trip we basically took it easy the entire time. We spent a lot of time on the beach. The tide was pretty low most of time which was perfect for Langston. On Sunday we did a family photo shoot with an amazing photographer named Rodney. I got so lucky because about 2 months prior to booking the trip I went online searching to Hilton Head photographers. I found Rodney  with One Moment One Shot Photography on Instagram! Yes, Instagram! I can hardly believe it myself. His work on Instagram and his website is breathtaking. His booking process was so easy too. Correspondence with him the entire time was professional and quick. Because we were familiar with the Palmetto Dunes property and because of how beautiful it already is there it was a no brainer to do the photos right at the resort.  This made everything very easy for everyone. Rodney was even able to do our shoot early to dodge the rain! I will definitely be booking him again in the future!

Tips and Tricks for Family Photos

1. Timing 

    I try to book all of our family photo shoots at least 1 to 2 months in advance. This gives you time to prepare your wardrobe, gather inspiration and it helps your photographer as well. Also the time of day you pick for your photo shoot is key for several reasons. First and foremost if you have a child or children in your shoot you need to make sure it is not during their cranky time or nap time. This is going to save you so many tantrums y'all! There is nothing a toddler hates more than changing clothes or posing when they are exhausted. If your doing photos in nature the time of day is important in regards to lighting. 

2. Picking a photographer

    Do your research! Extensive research. Many photographers specialize in certain types of photos. Studio, family friendly, portrait, maternity, etc. Its up to you to select a photographer that specializes in the photos you want. Ask them questions, check their socials and website. Even check yelp for reviews. There are a lot of scammers out there so be careful. Professional photos can get very pricey so just be careful that the  price you pay is going to deliver the quality it reflects. 

3. Find Inspiration 

    I get lots of inspiration from Pinterest. I literally just searched "family beach photos" and take note on the wardrobe, the poses and the scenery. There is no new idea under the sun. Some photographers even ask you if you have inspiration photos you'd like to share with them.

4. The Wardrobe

    Stay away from matchy matchy outfits! For a studio shoot I think matchy matchy family photos can look nice but for a natural setting I think its best to stay away from every person in the photo wearing the same exact outfit. Cohesive colors? Yes! Even the same color in different hues looks awesome for outdoor photos. I usually pick about four different outfits for myself. Then I run them by my husband so he can pick something out for himself and our son. Luckily, I am the most difficult to style so this makes the process easy. If you are doing more than one look for your family photos its best to try to pick two contrasting looks. A dressy and casual look or dark colors and bright colors, etc. Keeping it simple is something I like to keep in mind as well. This applies to everything. Outfits, makeup, hairstyle everything! Keeping it simple also makes changing clothes between looks quicker and easier. A lot of times different colors and patterns can be a distraction in the photos anyway. 

5. Recruit Some Help

    Pretty much every family photo shoot we have done I have been able to have either my mom or my sister come help us. This is going to be life saving if you are taking photos with children, pets or a large party. For this photo shoot my sister was a God send. She was able to not only get Langston dressed for me but she also made sure he didn't get sand everywhere prior to shooting. She was able to be make him simile, distract him when he wasn't in  the photo and change his clothes when it was time for the second look. Mamas this is going to make your family photo shoot that much more seamless. Again one to two months notice should allow you time to recruit some help from a family member or friend. 

I bought this cute set from Zara online and it turned out perfect. Also there were tons of black ants crawling on my feet in this photo. Watching all the ANTM in high school paid off lol.

Rodney understood the assignment y'all! With the photo package we purchased he edited 30 photos! Turn around time for edits was about 1 week. 


 Making memories with my family is one of my absolute favorite things to do. Time is precious y'all! Spend quality time with ones you love, put your phone down, work can wait. Play in the sand, take the photos, and relish in the memory of it all. 

"A strong black family is one of the most impactful forms of resistance."


Love, 

ALW

Guest Bedroom Turned Nursery On A Budget

 Hi!

We converted our guest bedroom into a nursery for baby boy. I cannot believe he will be here in just 4 short months. Nesting has definitely settled in. We transformed our super plain guest bedroom into a nursery. We did everything ourselves and I am so pleased with how it all turned out. It is so peaceful and calming, and cozy which is always the vibe with my home. 


I am 24 weeks here! :-)


First things first, Pinterest! Y'all know this is the first stop for inspiration. The walls in this room were super plain so I knew I wanted to do wallpaper, decal, adhesive wallpaper or paint. I just could not decided which. Luckily prior to this project we cleaned out our attic. I recommend doing this first because I found two rolls of a adhesive wallpaper and a canvas animal art that we ended up using. Clean your space first and declutter. You will be surprised at how much you already have that can be repurposed. I'm always excited to save some money buy using what I already have. 


Looking like a total hot mess. Very intimidating lol


After doing some research I knew I wanted to paint half the wall and use the wallpaper we already had for the other half. We started by using a laser level to try to tape off the wall as level as possible. 
Extremely challenging when this is not your expertise.  I then went to Home Depot to search for colors. I knew I wanted a rusty, terra-cotta color. So I picked up a few color sheets from the store and taped them to the wall before deciding to go with Rusty Gate by Behr.


Initially I wanted to go for a hunter green color but the sofa in the room right next to this one is green so I changed it to this burnt orange color.

We loved this paint. This is our second time using this brand. It is is easy to work with. We used two coats. 


Now it was time to apply the adhesive wall paper to the top portion of the walls. I used adhesive wall paper in my oldest sons room. It is a great temporary, inexpensive option to spruce up a wall. It can be tedious at first but I was able to do almost all of this project by myself at 5 months pregnant. So trust me, it can be done alone if you take your time. We ended up using 3 rolls of this paper and had some left over.
My sister and I did this portion in about 35 min. We left the ends uneven because I knew I was going to add a border there so it would not be seen. This helped speed up the process a lot. 


Adhesive wall paper seems to be fairly popular now and you can find really cute patterns online and in stores. I love it because its so easy to use and when your bored with it you can just peel it off by heating it up with a blowdryer. 


This room is fairly large so we decided to keep the queen bed and dresser and night stand in the room. To make it flow I stripped the existing bedding and went with all white. I also removed the knobs from the dresser and night stand and spray painted them with matte black spray paint I already had in my garage. 


I have had this dresser and night stand since my sophomore year of undergrad! Wow! It has a few dents and nicks but it has held up well.


Now it was time to decided the easiest, most inexpensive way to create this border to separate the paint and the wall paper. After searching blogs and pinterest we went with the cheapest option. Decorative crown moulding from amazon.  After reading reviews I was sold. I purchased two boxes and painted them with two coats of the same Behr paint to match the wall. 


To adhere these to the wall we used the laser level along with 7 tubes of Loctitie glue. Honestly, this was very hard to do. It was tedious and took 2 people and a lot of precision. We took our time and got it done. After we applied the moulding, I took the box/paper cutter that I used for the wallpaper and carefully removed any adhesive wall paper that was peaking out from under the border. Lastly, I went in with a small paint brush and applied paint to the wall or border where I saw it was needed. 


This nursery/guest room revamp took us about about 5 days to do. I wish you all could see it in person because the pics don't really do it justice. It is so tranquil you would not believer it. I don't know if its the warmth of the paint color, the plants or the fact that it was a labor of love that makes it such a vibe but I love it!

This is my moms old chair. I love the color and I'll probably never get rid of it. The plant stand I found in my garage and the planter is from TJ Max. 

This black mirror is a hand me down and the money tree plant came in the pot that actually matched the paint! How lucky is that!

This crib I found online at Wayfair. They always have sales and coupon codes so I try to wait for that before I purchase. I put this crib together myself! Clearly I'm too proud about that. 

This is a ikea caddy. I figure we can store diapers, whips and what nots on it for changing and cleaning up baby boy.

I converted my dresser from 2008 into a changing table. I seriously cannot believer I've had this thing that long. If only furniture could talk I'm sure this dresser would have hella embarrasing storeies to tell. The mirror is from Target along with the clothes hamper. The black vase I found in my attic. 


If you have a pathos plant. Propagate it! Before you buy an new plant you could've created 3 from one mama pathos like I have done.

Book crate is from Marshalls. 


As time goes on we will make this room more unique to our child but I think this is an awesome start. I seriously can not believe we did this ourselves. Cheers to saving some coins and making memories with your family! 

Love,
ALW


Family Fun Weekend! Toddler Approved!

 
Starting off summer with a bang over here!

 We went all out for a family fun weekend for Langston. 

First stop was a Monster Jam show in Greenville, SC! Langston is obsessed with monster trucks and monster jam so we knew this was going to be an awesome surprise for him. The Monster Jam show was in a small arena so be sure to wear your mask and your head phones to conceal the loud motors of the trucks. Langston gladly wore his the entire show. I bought these for him from amazon. They had good reviews and worked well. The show started on time at 1pm, had a 20 min intermission and ended promptly at 4pm.  It fell right in the middle of Langston's nap time. He got a little sleepy and wanted to sit on my lap but he stayed awake the entire time. We packed snacks and sandwiches and ate in the truck right after the show. Save your money! The prices of the snacks in the arena were obscene as always.


This show featured six trucks! Two of which are Langston favorites. Grave Digger and Scooby Doo.

Adults need ear coverings too!


Next we headed to Atlanta. We purchased a CityPass to get into the aquarium and the zoo at discounted rates. I highly recommend purchasing entry this way to save money. Due to Covid each venue is operating at limited capacity and ask that you reserve a time slot prior to arriving. A week prior to our trip, I went to our City Pass email confirmation and from there I was able to select which attractions we wanted to attend along with date and time. Entry was into the Zoo and the Aquarium was quick and easy. They did temp checks, mask checks and metal detector checks as well. 

Sunday we had breakfast at Highland Bakery. It was soooo good! After that we headed to the Zoo. I am not a fan of zoos. I was not thrilled about going but I wanted Langton to see some african animals. The vibe at the zoo solidified my feelings on going. The animals seemed so unhappy. Most of the animals were either sleep or avoiding all human contact. I was hoping Langston could feed the giraffes but there was a line of parents getting refunds because the giraffes wanted no parts. It was just sad. The only lively exhibit were the pandas. Two baby pandas were wrestling which was exciting for Langton to watch. 


After the zoo. We took a little nap at the hotel then woke up and went to the Botanical Gardens. Entry to the Botanical Gardens is not included with the City Pass. On this Sunday they had live music and a bar. One of the best parts is the children's garden. It had a play area, tree house with a slide and a stage. Langton loved it. He kept calling it a secret garden and pretending to look for treasure. 

The Botanical Gardens were beautiful! Almost breathtaking! We walked around a lot. I wish we would have stashed some snacks in the stroller. They have a snack stand and a restaurant in the gardens but the food was very expensive. We definitely could have gotten away with bringing a few snacks as they did not check the stroller at the entry. 


Langston loved the children's garden! 


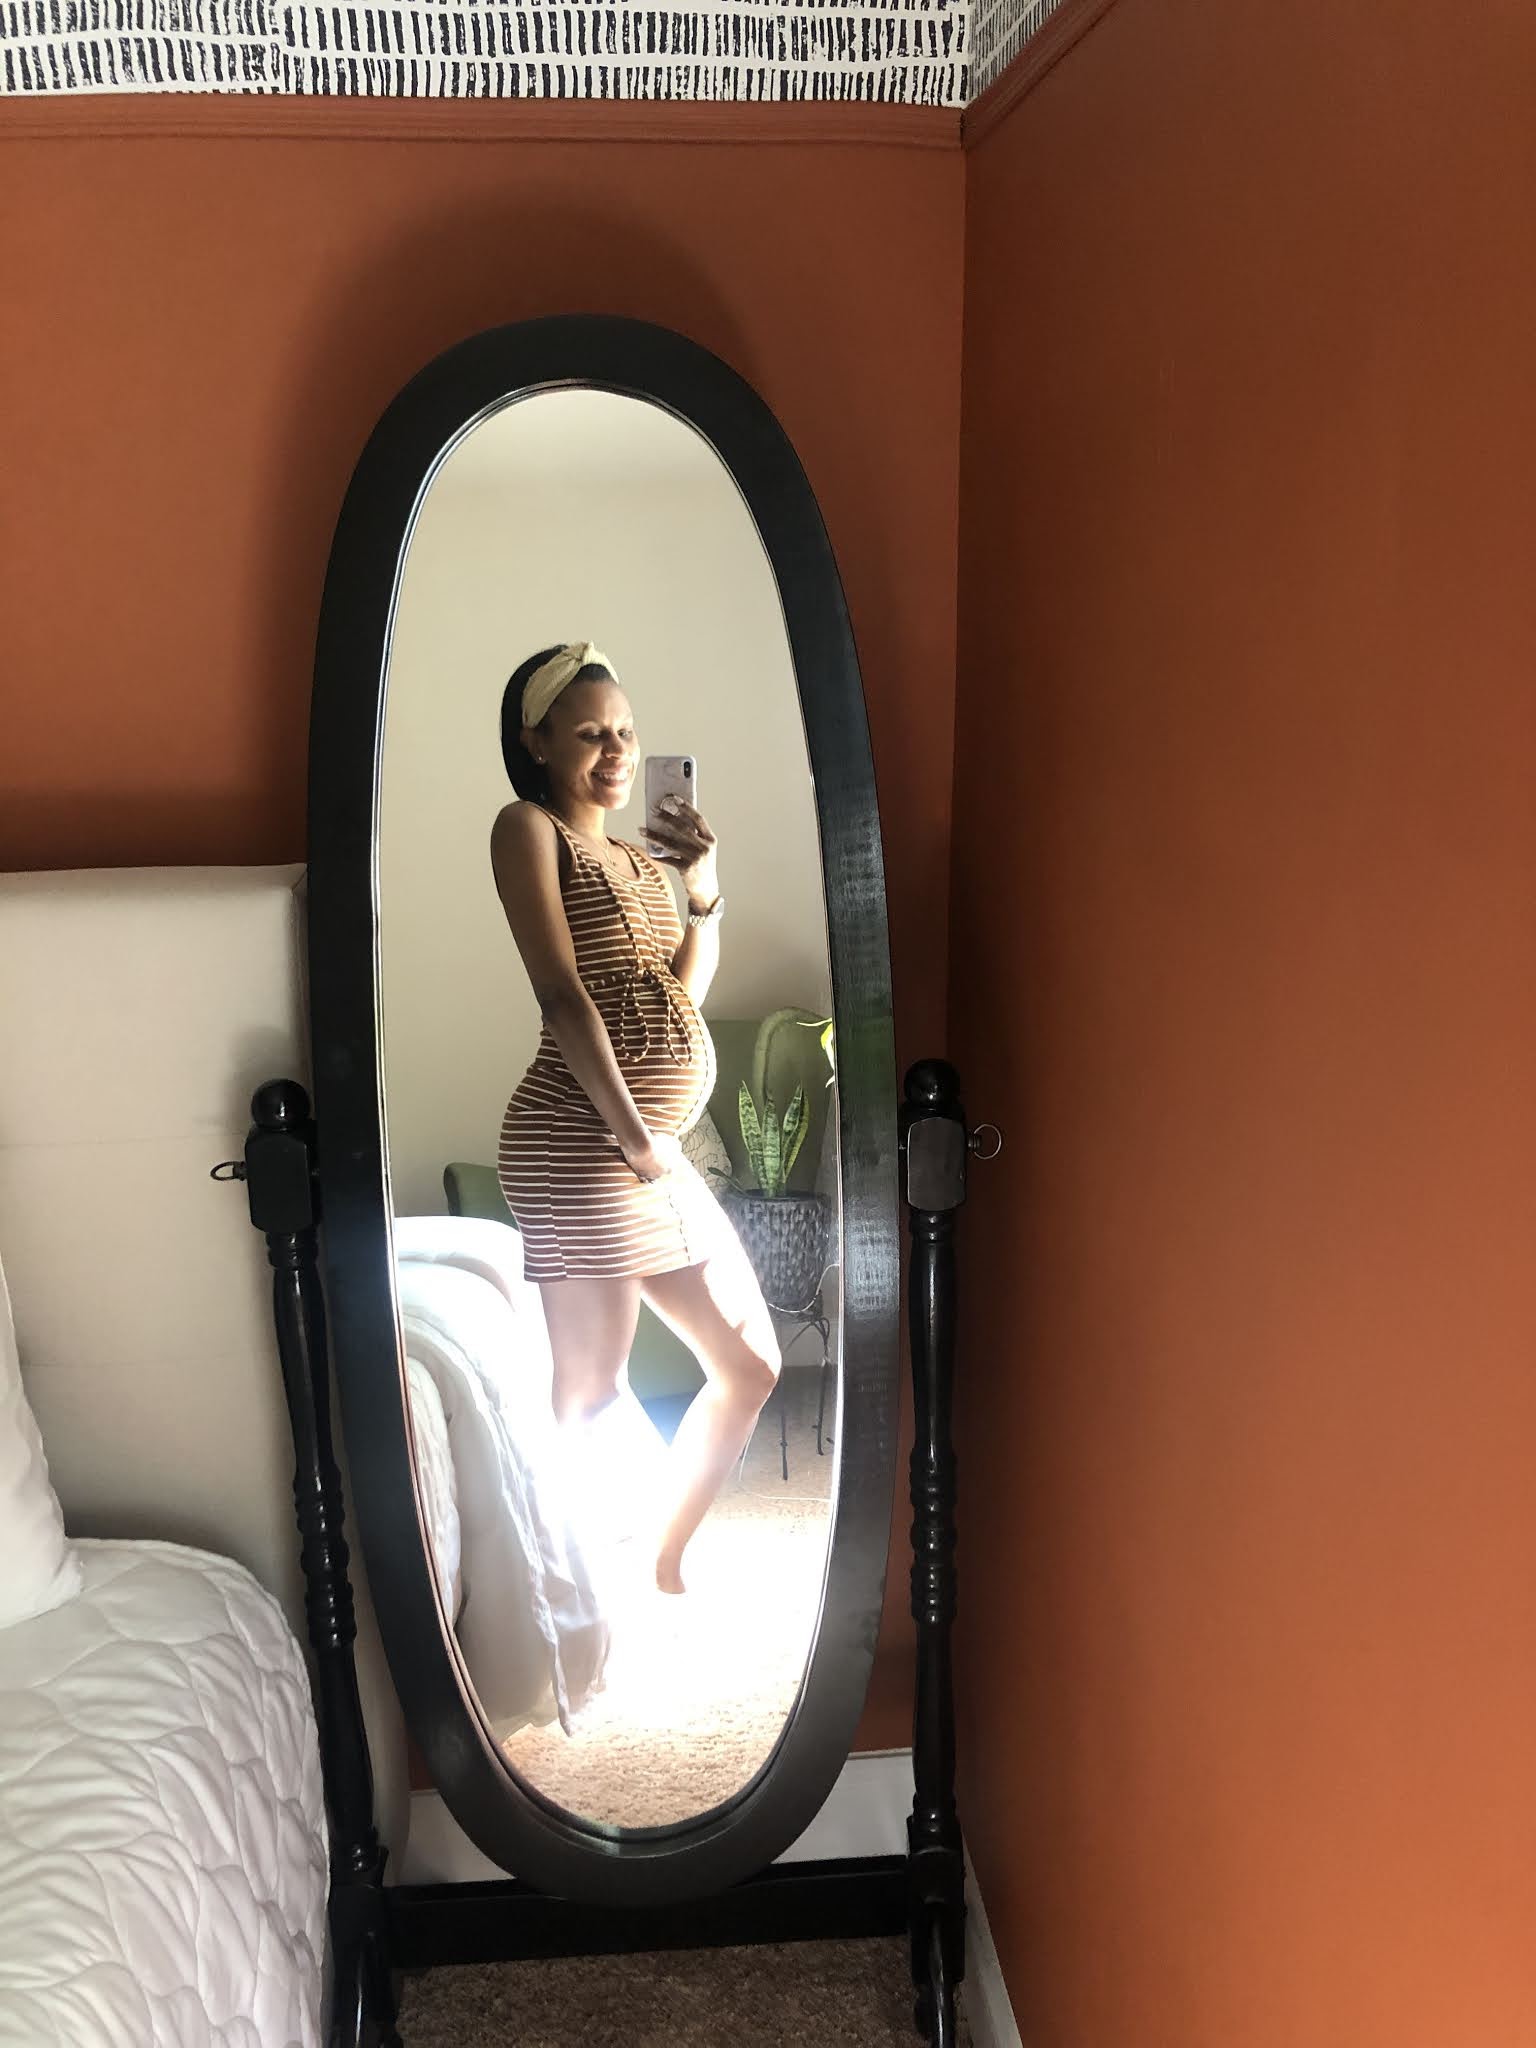
For dinner Sunday night we just ordered some take out and called it a night! I was pooped! At 20 weeks pregnant all that walking had my pelvis a little sore. I was glad to just shower and eat in bed.


Monday morning we headed to the aquarium at about 11am. Langton really loves to watch octopus documentaries on youtube to he was super excited to see sea creatures. We saw every exhibit at the aquarium. The best ones were the sharks, otters and Langston loved being able to touch the sting rays! The only thing we did not get to see was the dolphin show. 


How cute are these two!


Later that afternoon I met up with my friend at the park.  Langston and her son were able to play for about an hour, then we headed to our dinner reservation. 

We ate at a restaurant called Grana. The ambiance and food was amazing! I ate every bite of my mafalde pasta! Sooo good! Highly recommend but be sure to make a reservation. They are pretty popular. They indoor and outdoor seating and a beautiful rooftop terrace. They also teach you how to speak italian in the bathrooms. 

Langston had a blast the entire trip! I'm sure I'll be hearing about for weeks lol. 

Love, 

ALW